More Lighting Work

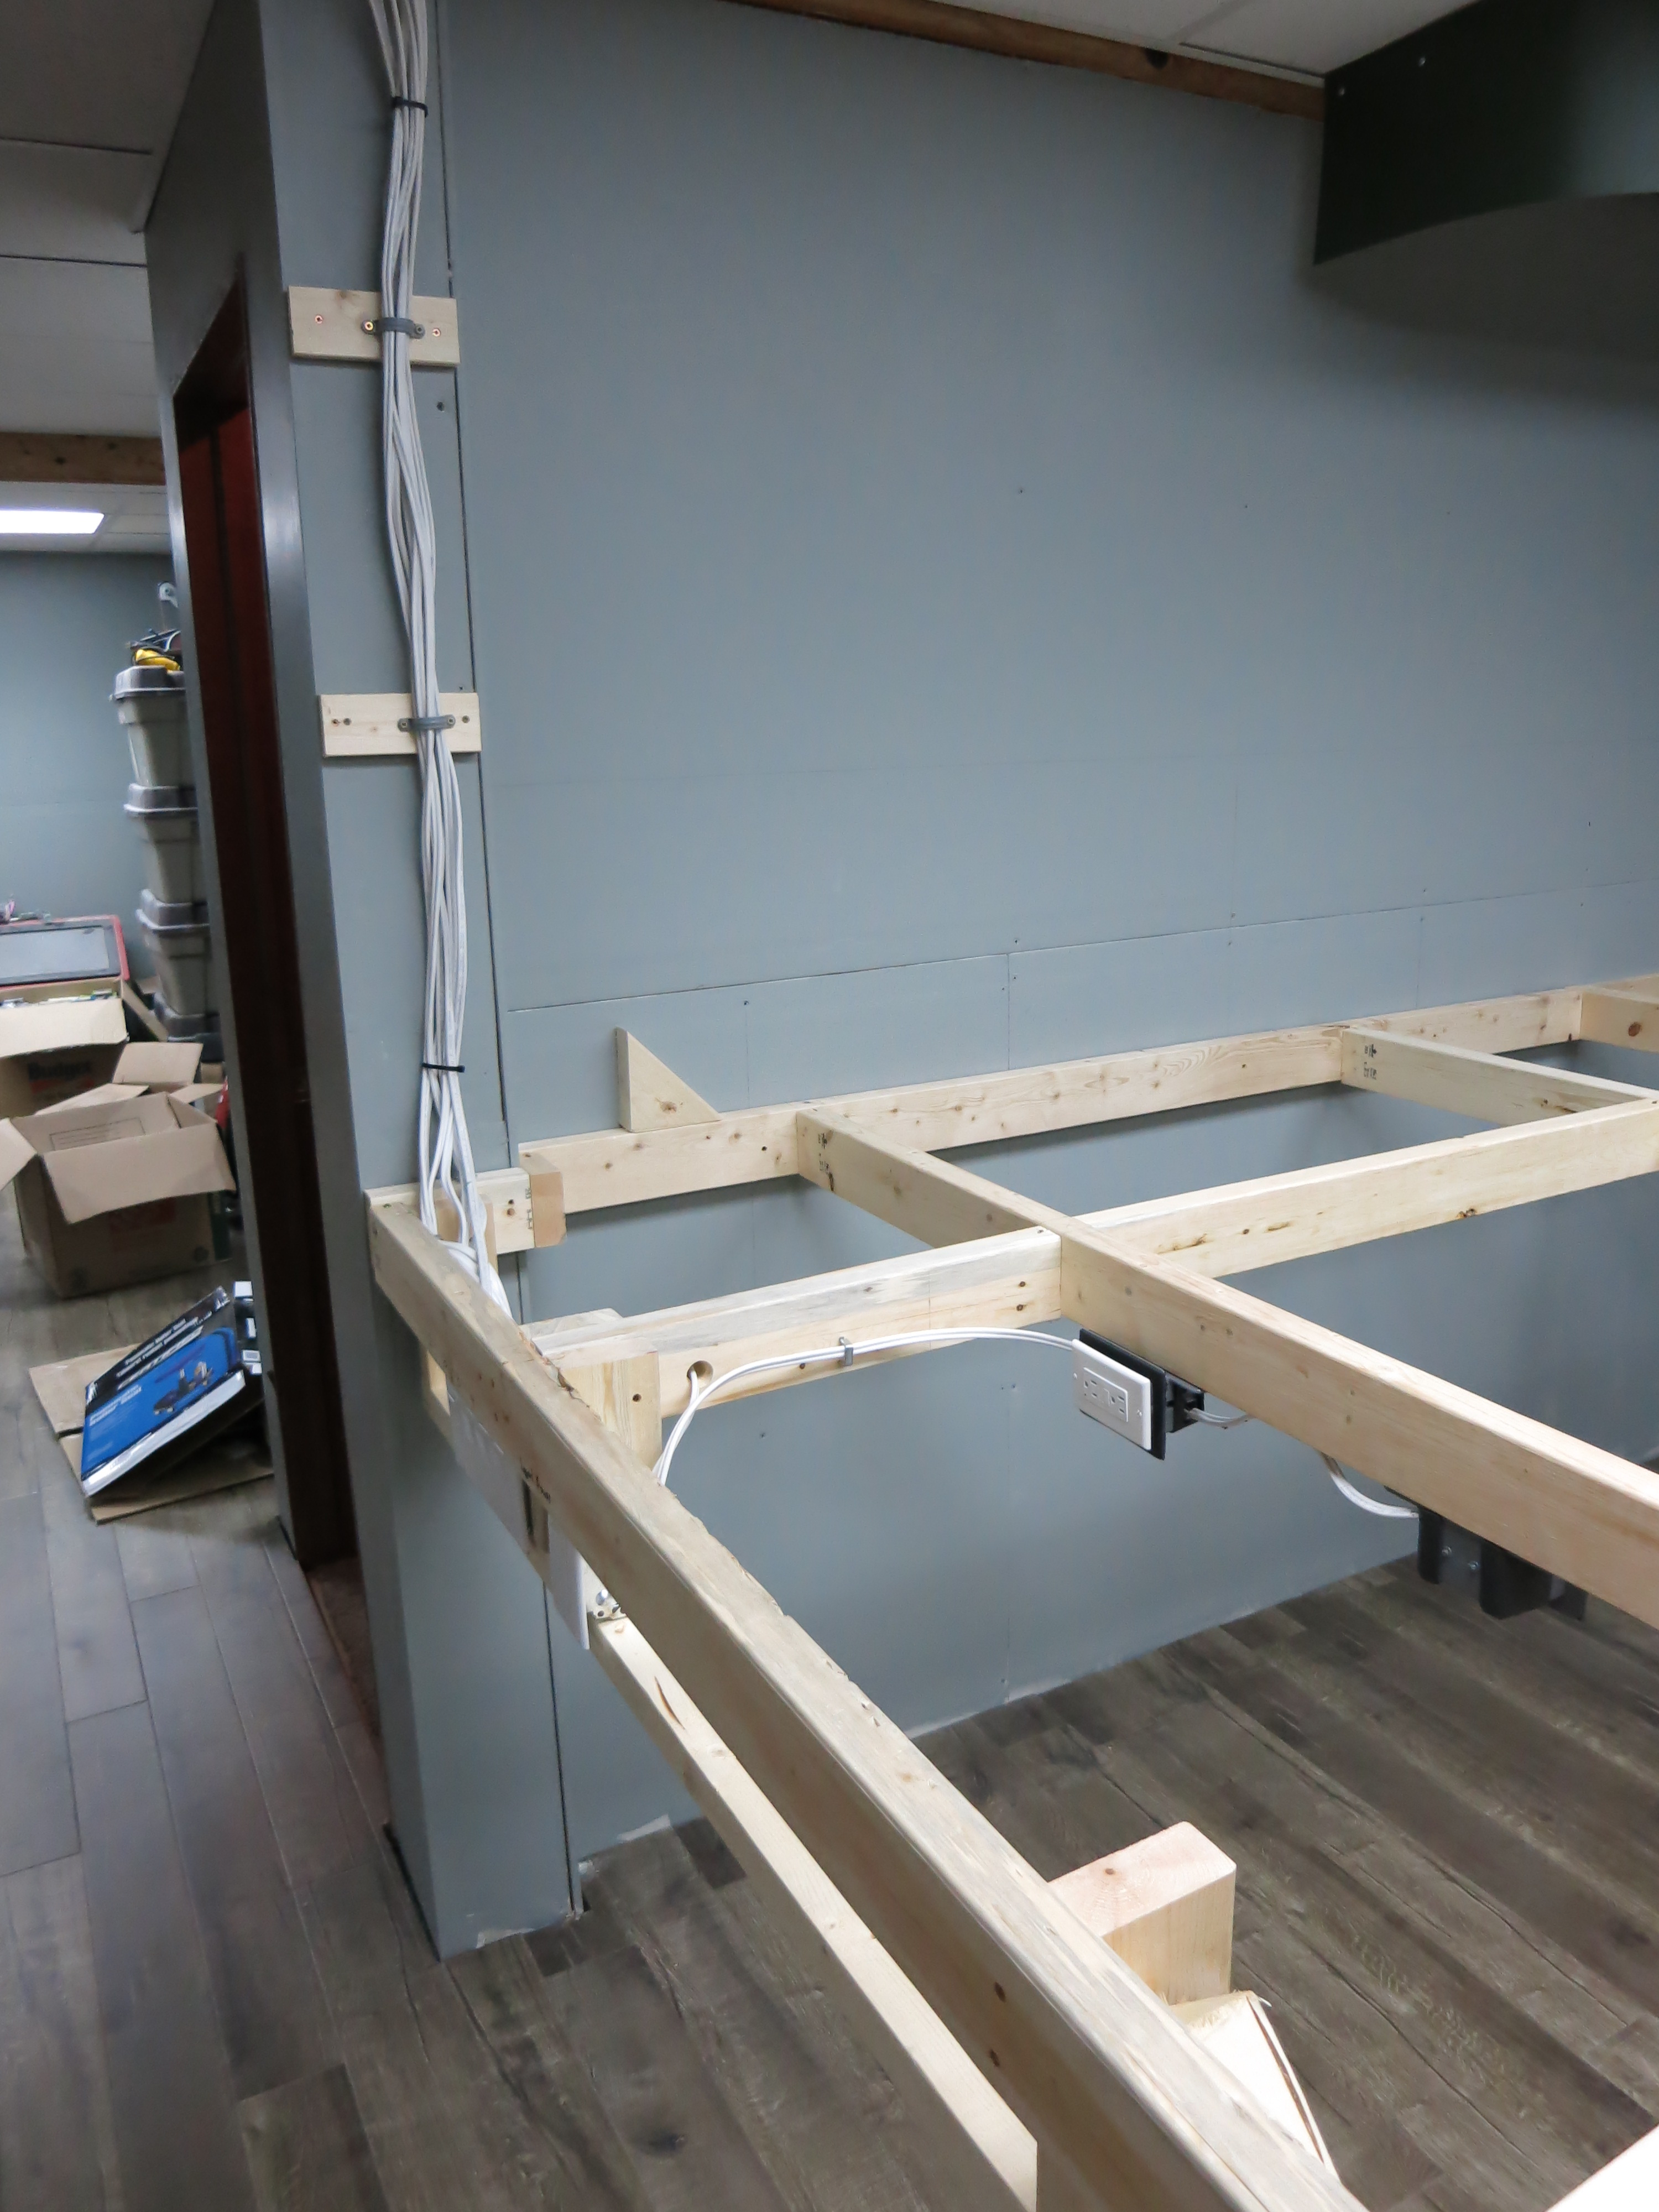
Today I installed the light switches and boxes for the layout lighting, as well as a couple of outlet boxes.

Light switches installed

Switches 1 and 2 are for the upper deck lighting, 3 and 4 for the lower. The layout power will have it’s own switch.

And I cleaned up the power supply wires running to and from the boxes

Light switches installed overview

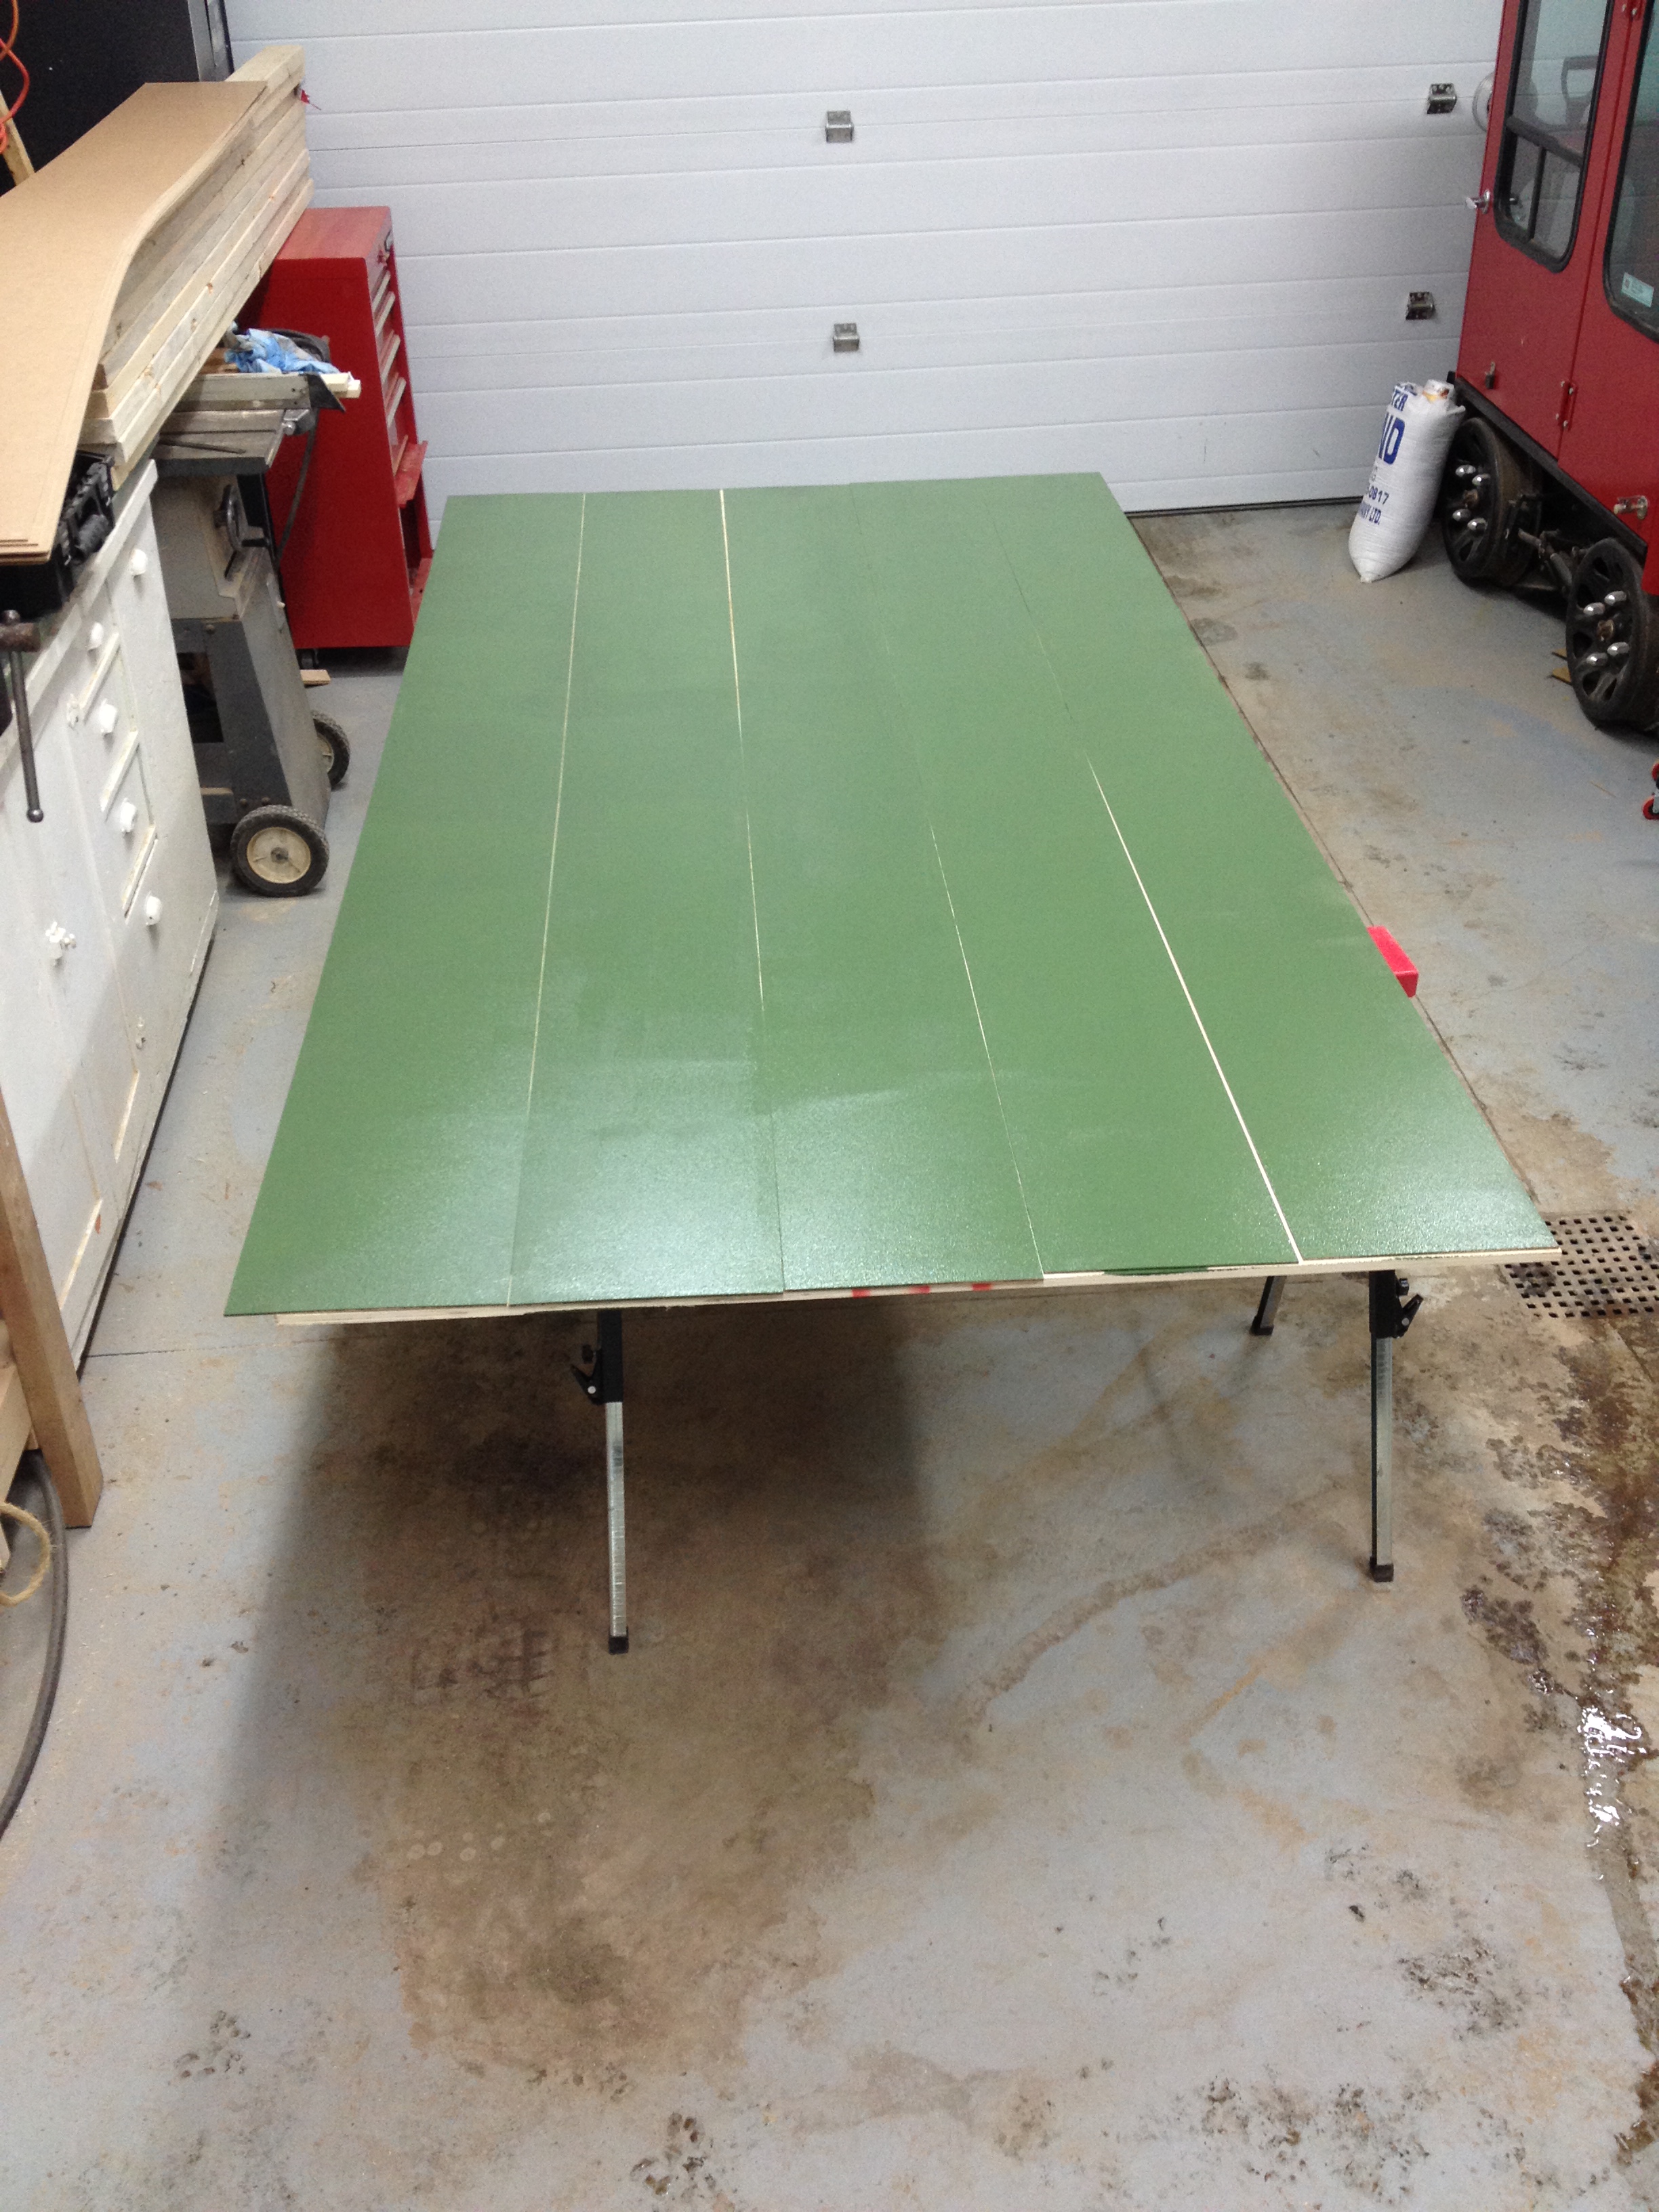
The breakers for the lighting and power should be installed tomorrow, I managed to draw a bunch of curves on a sheet of 1/2″ plywood, and will start to cut them out sometime tomorrow.

Now, I really hope that Bendy Track shipment has made it to Canada!


Benchwork Begins (Finally!)

Today I decided to build “The Monster” which is the frame for my helix. Because I wanted to prevent the helix from falling over or collapsing, I decided to overbuild it with 2X4’s. The rest of the benchwork will be 1X4’s so I’m not going totally nuts with the construction. So here’s what the frame for a helix with a 36″ radius looks like, all 7 feet by 7 feet of it:

helix frame built

The small section in the corner of the room is the start of the lower level benchwork. I wanted to frame it up so I can figure out exactly where to build the helix.

Next step is to do a little more framing for those wires you see hanging from the ceiling. I need to install a light switch box and wire up the lighting and layout power runs.

Lighting Valence Construction

Next step in the build is to cut and hang some 1/8″ hardboard on the brackets I had made to act as a lighting block for the upper deck. Kreg makes some great tools, one of their best inventions is the Rip Cut, which attaches to a skil saw and allows you to do this to a 4X8″ sheet of hardboard:

Valence cut

A little hard to see, but I’ve cut the sheet into 10″ wide strips in about 5 minutes using the Rip Cut.

Now painted and ready for install:

Valance painted

And a shot of most of the valance installed on the layout. I ran out of hardboard but will finish down the road…

valance installed